The challenge for novice birders like me isn’t so much finding the birds, but rather identifying them once you’ve found them. I’m amazed at how easily expert birders can identify birds in the field. For me it’s still difficult. I’ve often thought it would be nice if I could get an image of the bird that I see in the binoculars, and then try to identify it later in my leisure. New technology in digital SLR (DSLR) cameras help to make that a reality. This is old news to many, but I just bought some new DSLR gear, and it’s still exciting to me :).
In this post I’ll briefly discuss some background and the new DSLR equipment I bought, and then give two examples of how the DSLR helps with bird identification.
My DSLR is new, but I have previous experience with photography. I have a Nikon SLR film camera (the FE model, which I bought in approximately 1984). I used that camera a lot, and learned photography with it. I have a 70 – 200 mm and a 50 mm lens for it. Once digital photography started to take over, I quit using the Nikon, and we’ve used point and shoot digital cameras (most recently a canon A570). I thought I would like it because it eliminates lugging around the big SLR and lenses, takes decent pictures, and provides a digital output with no scanning required. However, I missed all the additional capabilities that the SLR provides.
I finally broke down and bought a DSLR (it’s about time!). I did a lot of research on what to buy, and here’s what I settled on:
- Canon 7D body
- Canon 15 – 85 mm EF-S IS USM lens
(Note that with the 7D ‘crop factor’ of 1.6, this is equivalent to 24mm to 140mm) - Canon 100 – 400 mm EF IS USM lens
(Again, with the 7D crop factor, this is equivalent to 160mm to 640mm)
It’s really incredible to me what this equipment can do. One aspect that’s impressed me is the ability to do bird identification.
I’m not an avid birder, but I enjoy doing it when I get time. It’s a great way to get outdoors and observe the wildlife. Technology advancements in photography in recent years makes it practical for amateurs like me to capture bird images in the field to help identify the birds. Here are some of those technologies:
- Image stabilization
Gyroscopes are incorporated into the lens (or into the camera body for some manufacturers) to reduce shake and vibration. This provides about 2 to 4 stops of additional exposure (the older technology used on my 100 – 400 claims about 2 stops, and the newer technology claims 4 stops, which is used on my 15 – 85 lens). For birding, this means you can take pictures in lower light situations, and still not get a blurry picture. - Improved image sensors
The newer image sensors give high resolution and high ISO. The high resolution means I can get a lot of ‘digital zoom’ (i.e. zoom in on the image digitally e.g. on the computer, rather than optically i.e. with the lens) and still have a decent resolution picture. The high ISO means you can crank up the light sensitivity of the sensor and still not get too much noise (e.g. graininess in the picture). In the old days if I wanted to take a picture in low light I bought some 1000 ISO film (which was hard to find), and used a tripod. Now, I can just turn the dial on my camera and get ISO up to 6400! Of course, picture quality degrades as the ISO goes up, but the option is there if you want it. When combined with image stabilization, I may not even need a tripod. - Great optics. I guess this might not be new. I’m not sure how much lens technology has advanced, but I’m pretty impressed with the lenses I have.
- Memory. The memory available to store the photos is more dense (i.e. more memory in a smaller package) and fast. The image sensor in in the camera produces 25 MBytes of ‘raw’ data for every photo. ‘Raw’ in this case means no compression. The camera must very quickly transfer the 25M to memory, and the memory must hold a lot of photos, and be physically small. It is necessary to store the ‘raw’ data in order to do the post processing I describe in this post. With post processing, I used JPEG compression to reduce the size of the photo to about 1MByte for the pictures in this post (that’s a lot of compression, and results in loss of resolution and quality, but it’s good enough for this post).
- Other:
– Fast focusing e.g. using the the canon UltraSonic Motor (USM)
– Full time manual focus
– Digital processing in the camera for focus algorithms, exposure algorithms - There are more that I won’t list
All of this is great for birding because you can carry the camera with you in the field and get good pictures without a tripod. The camera with a telephoto lens is a bit heavy, bit it’s not bad.
I’ll give two examples. I know that the photos in the examples are not good bird photographs. My object in this post isn’t to show high quality bird photographs, but instead to show how the photographic gear helps me to identify the birds. (note: if you want to see some really awesome bird photographs, here are some sites: http://www.onthewingphotography.com/wings/, or http://richditch.com, or many others).
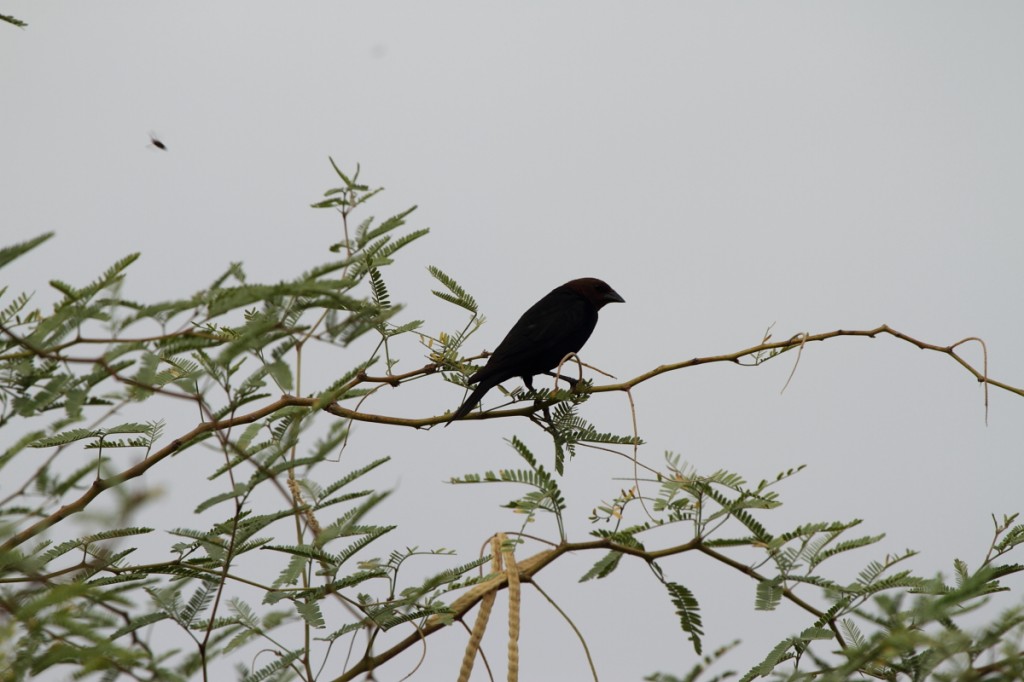
Here’s a picture I took at the Gilbert Water ranch:
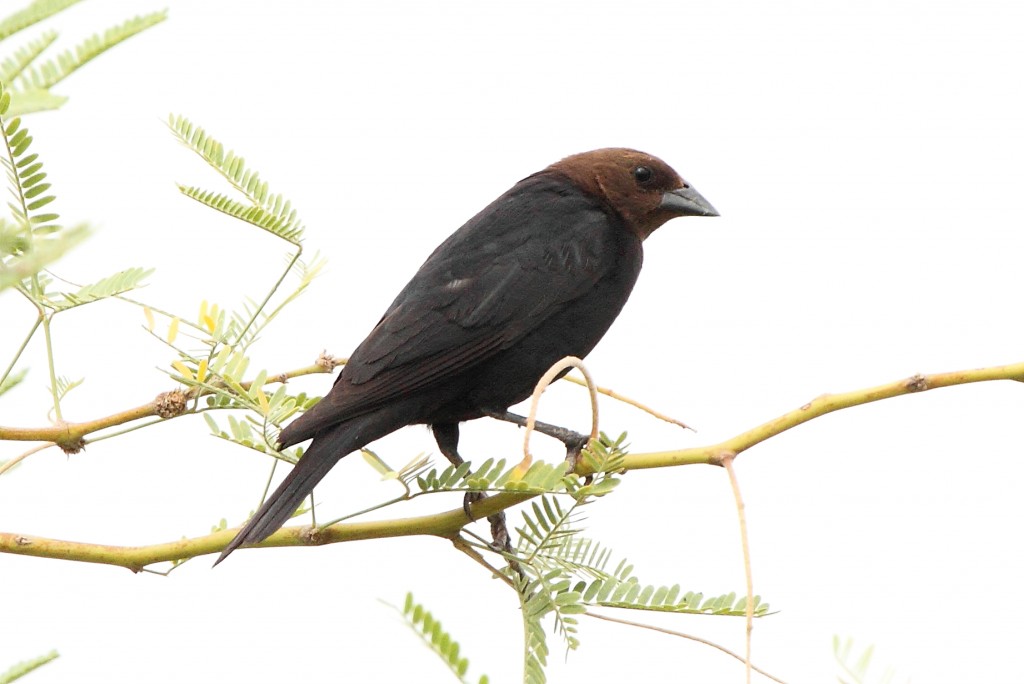
An expert birder knows what that bird is at first glance, but I didn’t know. However, I post processed the picture and cropped it and, like magic, the Brown Headed Cowbird appeared:
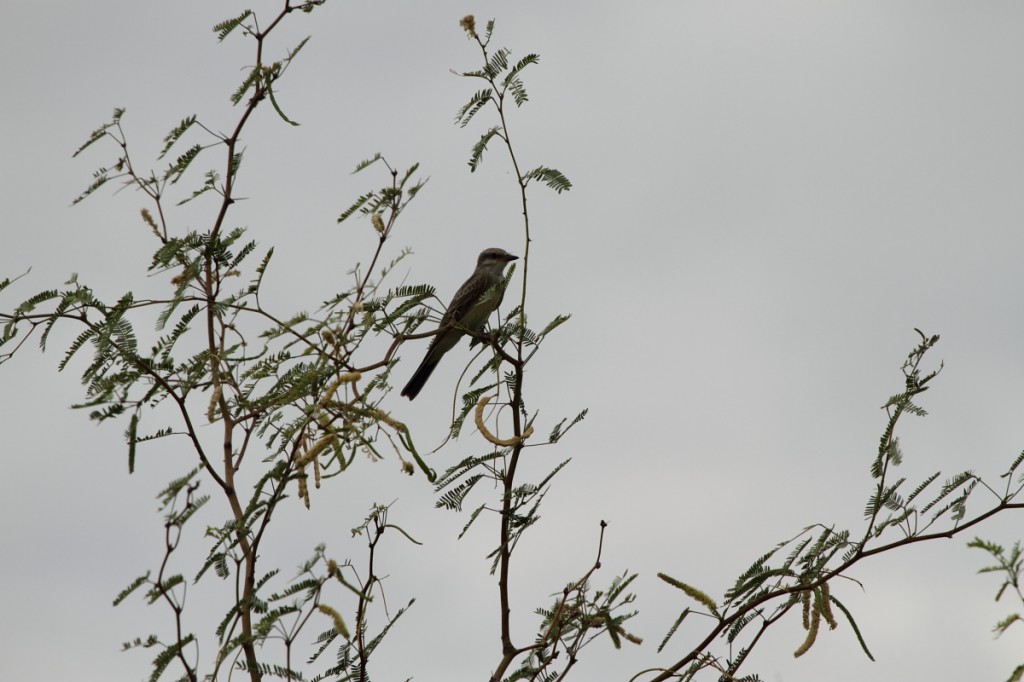
Here’s another example, again from the Gilbert Water Ranch:
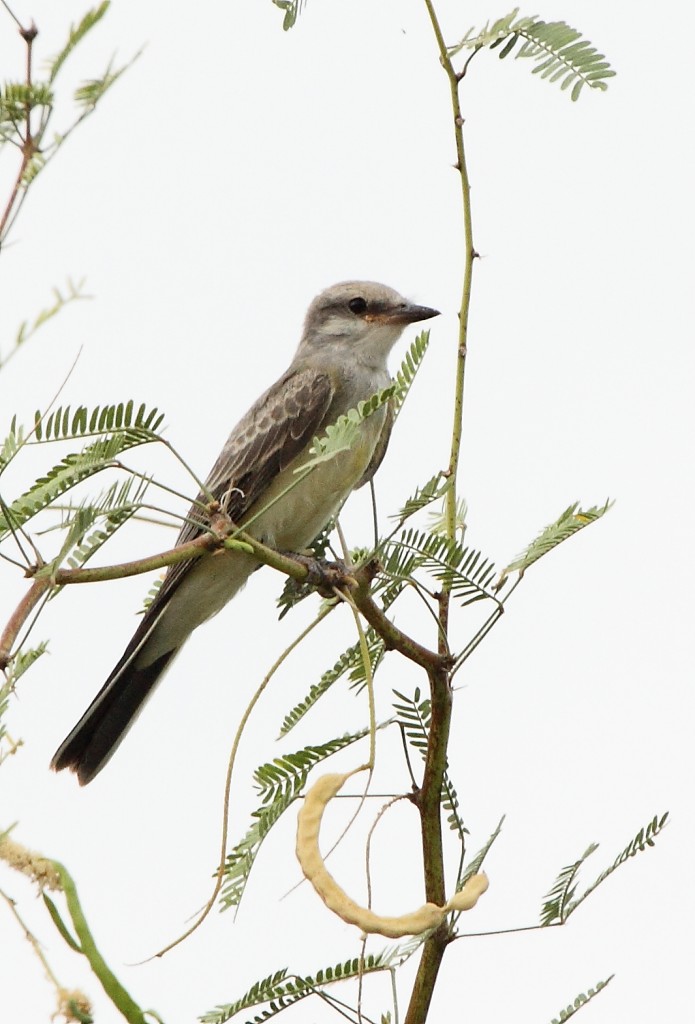
Do you know what that bird is? I didn’t. After post-processing you can see that it’s clearly a Western Kingbird:
Isn’t it amazing what you can extract from the original photographs?


